Table of Contents
This document will provide you with the information you need to get the most out of your WAF Application firewall test drive tutorial.
- The WAF test drive is a complete web application application security testing and training environment. This includes, Load balancer/ADC, WAF (Web Application Firewall), Zap application attack tool, DVWA (Dam Vulnerable Web Application)
It can be downloaded below (you don’t need an Azure account)
The ALB-X has the ability to run containerised applications that can be joined together directly or by using the load balancer proxy. This image has 3 already deployed but you can always go to Appstore and deploy more 🙂
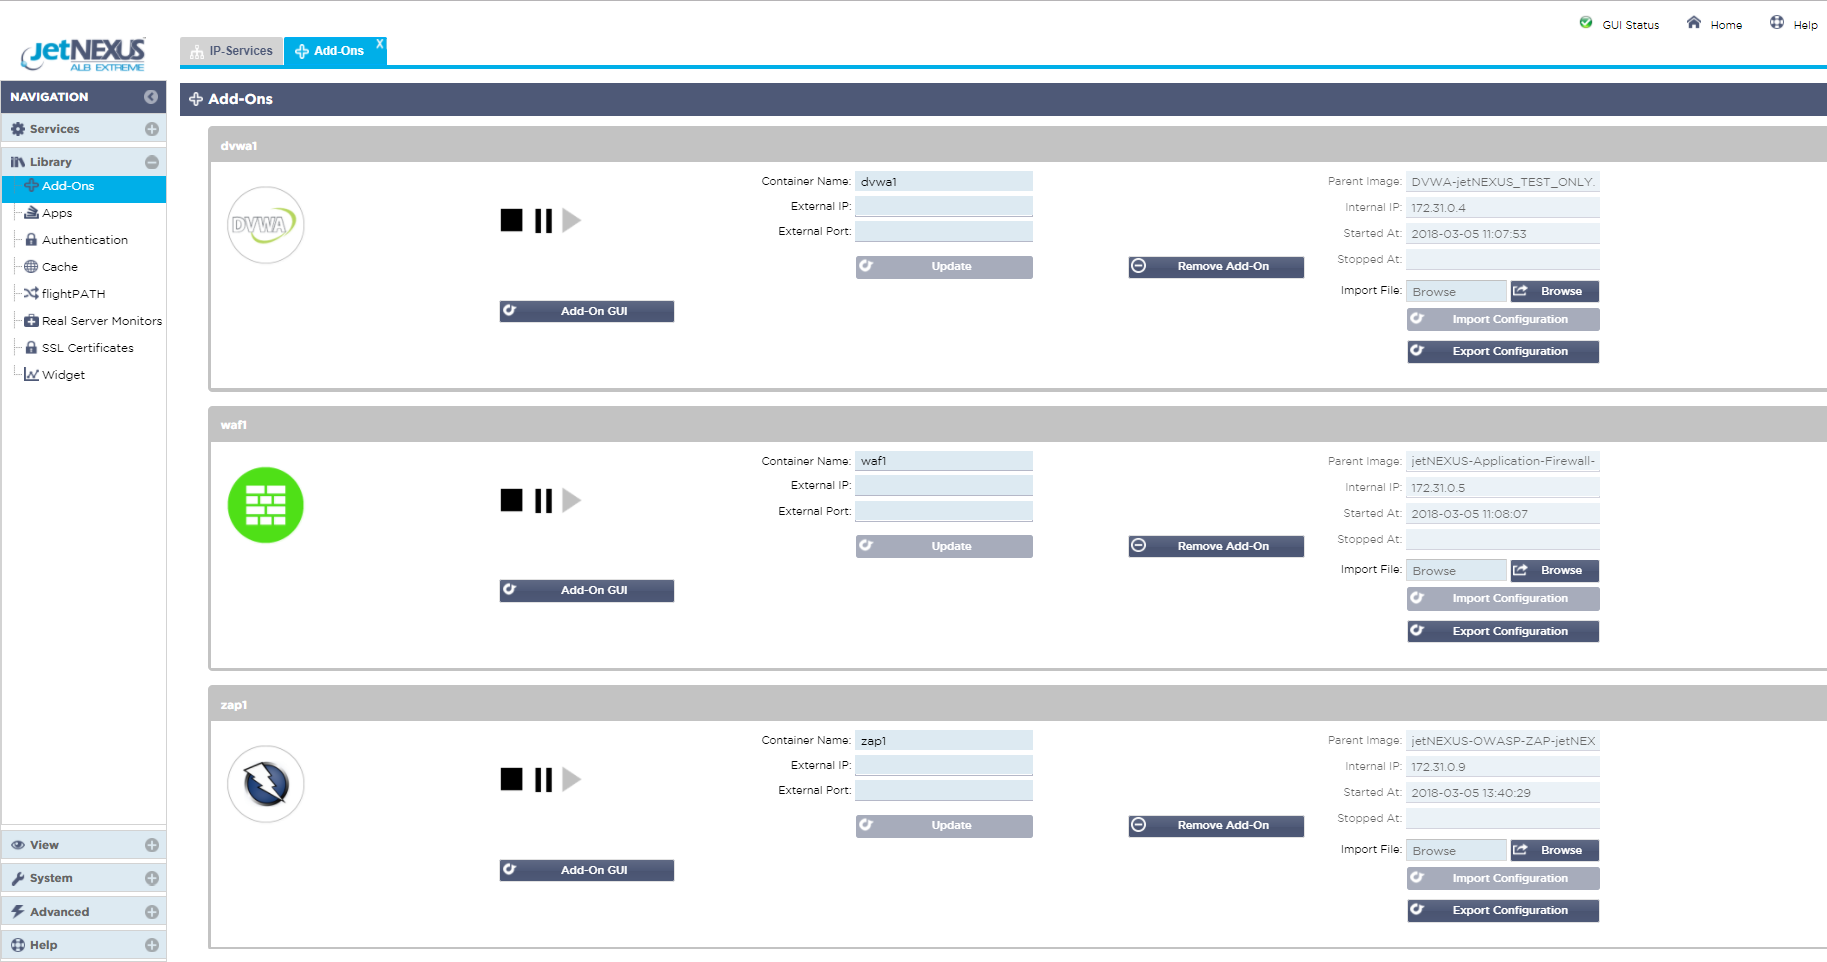
The Web Application Firewall is one of several feature add-ons that can be applied to the ALB-X load balancer.
- We have tried to make the deployment of the WAF as simple as possible but there are obviously a few things that you can configure to adjust the environment to suit your needs.
We will highlight these settings during the cause of this test drive walk-through.
In a real life scenario the WAF would receive and inspect http requests / traffic from the client and forward or block those requests from reaching your web application depending on whether the request triggered a firewall rule.
We’ve assumed in the first place you probably don’t want to subject your live web application to a malicious attack but do want to see how the WAF operates. (This can be easily changed if you want to test you real servers 🙂 )
So we have set up a self contained environment to be able to exercise and demonstrate the WAF behaviour.
- We have chosen to use 2 widely used security test tools to do this the ‘OWASP Zed attack proxy’ to be able to generate attack traffic and the ‘Damn Vulnerable Web Application’ which as its name suggests simulates a web application with many security holes to exploit.
While we will walk through some basic configuration settings here to be able to use these tools, this document should not be regarded as a comprehensive guide to the applications.
We would encourage you to visit each of the tools official online portals for full details if you are not already familiar with their use or operation.
As ever you will find several video walkthroughs on YouTube that may also be useful to check out. Both of these tools have been imported quickly and easily onto the ALB-X docker container environment, the same environment that we use to deploy the WAF (and also GSLB).
Connectivity Overview
Virtual machines deployed in the Azure cloud make use of private internal IP addressing (NAT’ed IP’s) in the same way as would be deployed in a standard data centre environment.
- To gain access to the resource via the public internet a NAT function is performed from the allocated Public IP address to the Private IP address of the virtual machine.
One IP address is allocated to the appliance and different ports are used to access the different resources.
The diagram below shows how the different functions communicate.
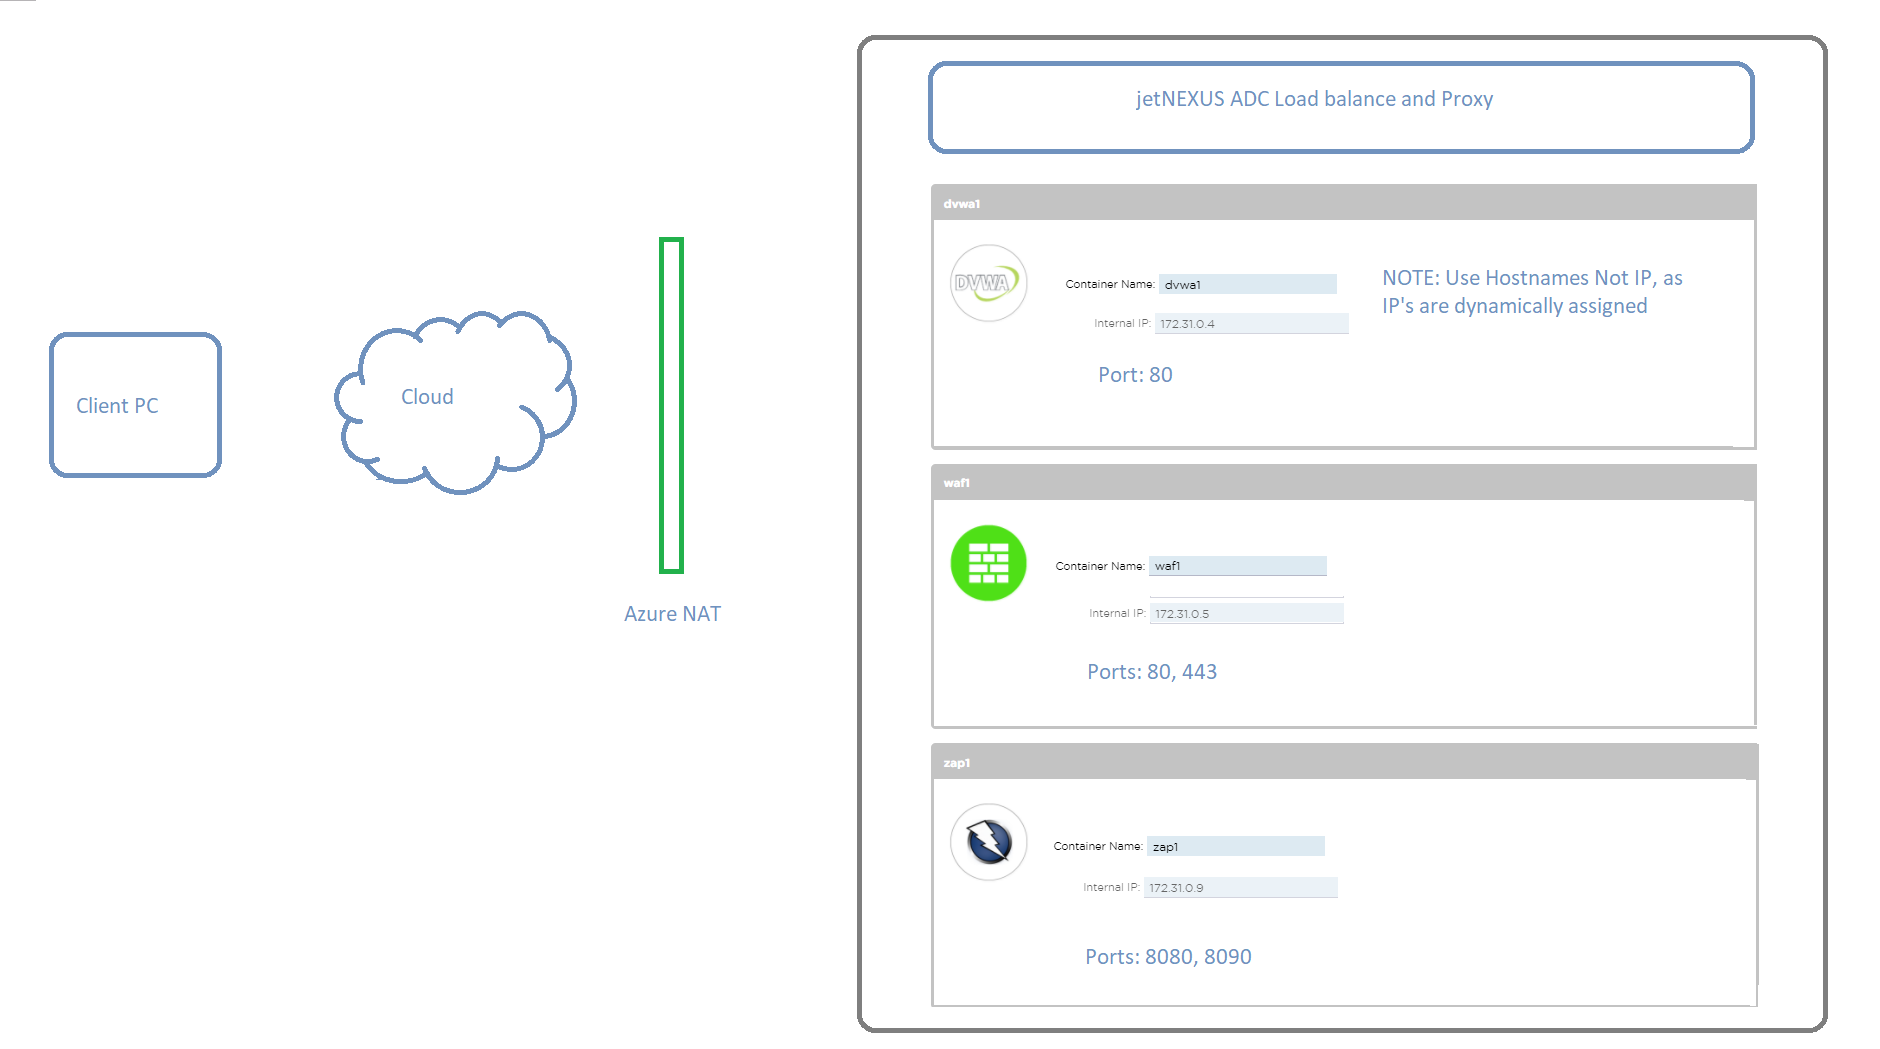
Docker host name / IP address and IP service connectivity
Add-on applications deployed on the ALB-X communicate with ALB-X through an internal docker0 network interface. They are automatically allocated IP addresses from the internal docker0 pool.
- A host name for each instance of add-on application is configured through the ALB-X GUI prior to starting the application.
The ALB-X is able to resolve the docker0 IP address for the application using this internal host name.
- Always use the host name when addressing the application containers – IP’s may change!
IP services using the Azure eth0 private IP address are configured on the ALB-X to allow for external access to the add-on application.
This enables the use of the ALB-X reverse proxy function to perform SSL offload and port translation where required.
So these are all the open ports:
-
ALB-X GUI Management: 27376
-
ZAP attack Proxy: 8080 and 8900
-
DVWA: 8070
-
Ports 80 and 443 are open to allow direct access to the WAF
Accessing the Test Drive GUI
When you request a test drive a new instance of the WAF test appliance is created in Azure. Once it has started you will be advised the Internet host name to be able to access the Web GUI of the ALB-X platform also the unique user name and password combination.
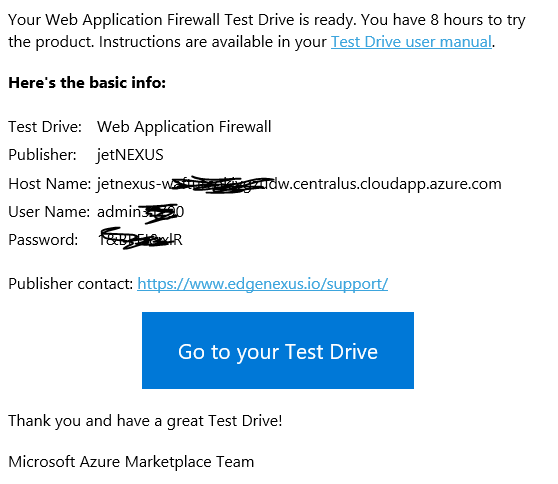
We recommend using the Chrome browser for this purpose.
- Access the Server https://host name:27376
As we use a local SSL certificate for the management access you will be prompted in your browser to accept the security alert. You will see the pre-configure IP services screen once you login.

We have named each of the services to make it easy to identify what they are used for and how you need to construct the link in your browser address bar to access the service, replacing the x.x.x.x with the Azure host name or public IP address.
- Note it is normal for the Zed Attack Proxy service on port :8090 to show a red health check error until it is started by accessing the proxy management interface on port :8080/zap/.
ALB-X add-ons
Click on Library in the left menu and select Add-Ons

Here you can see the 3 Add-Ons that have been deployed on the ALB-X platform.
Each has been configured with a container or hostname (waf1, zap1, dvwa1) and you can see the 172.31.x.x dynamic docker0 IP address that was allocated when the application was started.
Note in the Azure environment the Add-On GUI access buttons are not used.
Feel free to click around the rest of the ALB-X GUI interface for familiarity.
WAF GUI
As it is the WAF functionality that you are interested in it would make sense now to take a look at the WAF GUI 🙂
- The WAF Management as you can see from the IP services naming runs on port :88 to which you must add the path /waf/ when entering address in your browser.
When you do you will be presented with the login screen.
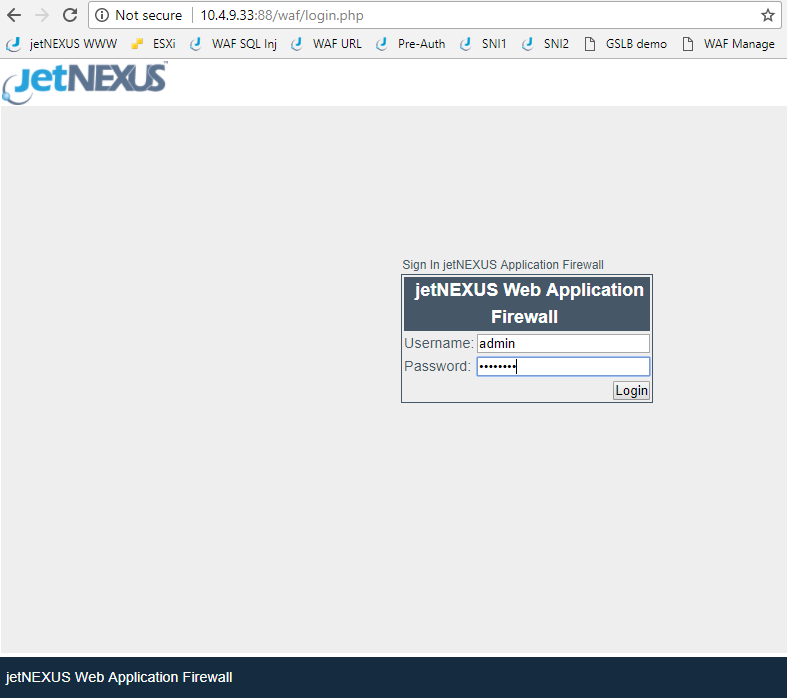
The default user name and password combination is admin / jetnexus. When logged in you will see the following screen.
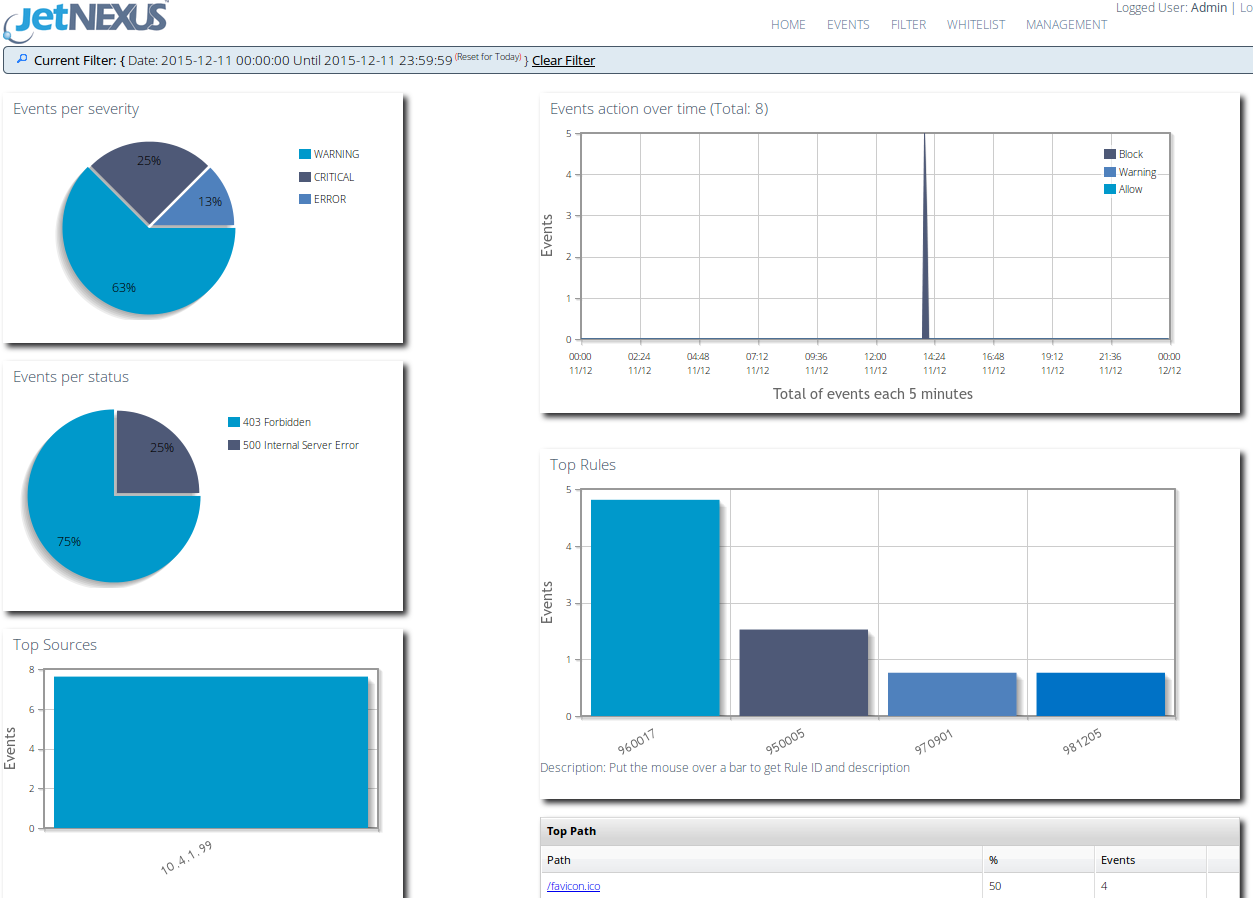
This dashboard shows a summary of the events that have been triggered by the WAF in the last 24hrs. As this is a pre configured test drive we have already set the details of the host to be protected on the Management page.
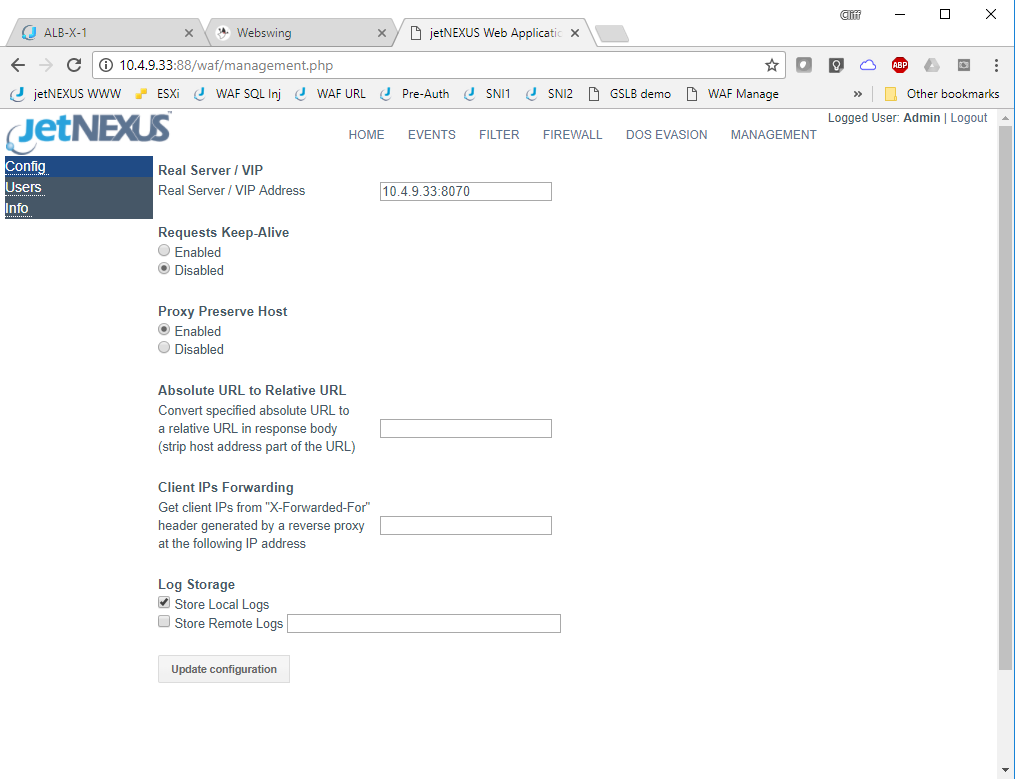
The test drive has dynamically obtained the Azure private interface IP address and set this in the real server / VIP configuration box along with port :8070 the port we have chosen to use to access the DVWA web server. As this is a pre configured test drive we have already set the details of the host to be protected on the Management page.
- The Real server /VIP is the address:port of the application or Virtual server that we are protecting.
Please feel free to change the IP address here to point to your own server.
- Note to support HTTPS traffic externally you will need to send the traffic via an ALB-X service in the similar way to how we have configured access the DVWA server.
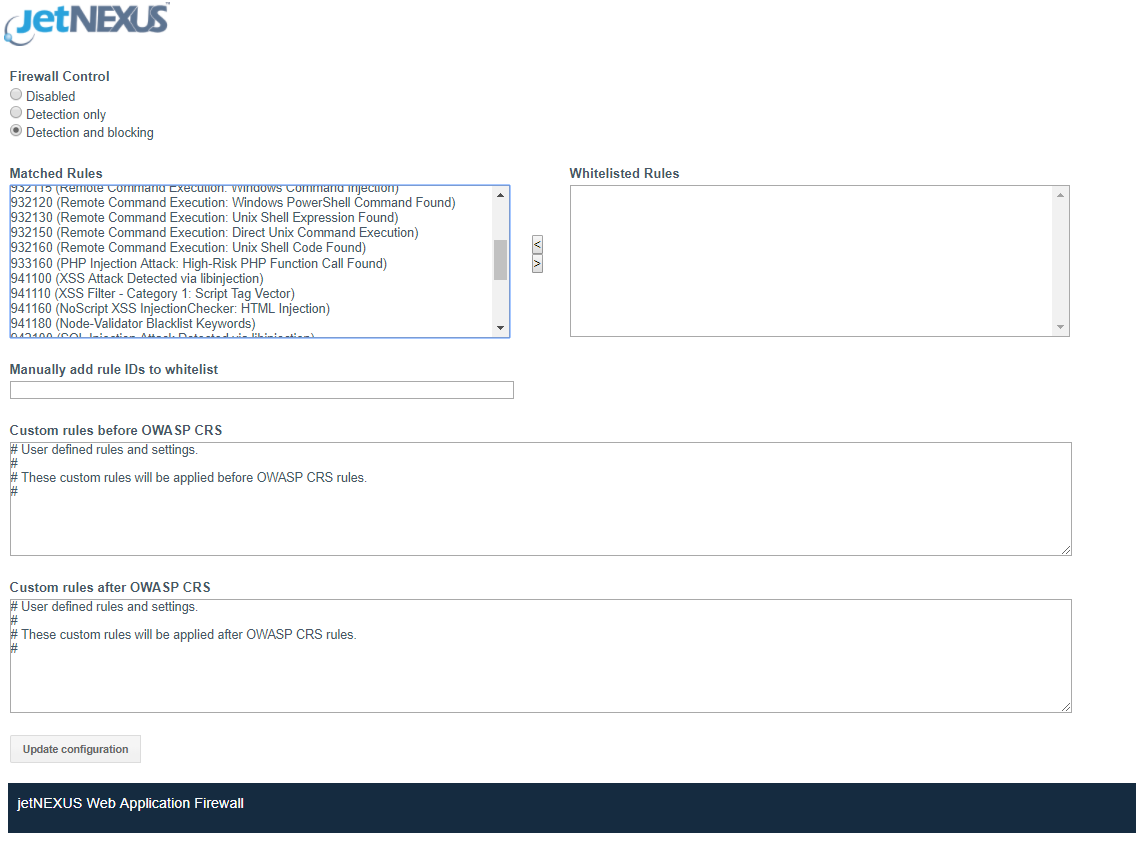
Whilst here we should take a look at the WAF Firewall page.
This is where you set the mode of operation and can see which rules have been detected and allows for white listing of rules that you don’t want to block.
The rule set loaded by default is the OWASP core ruleset. This contains details of literally thousands of different attack vectors as maintained by OWASP.
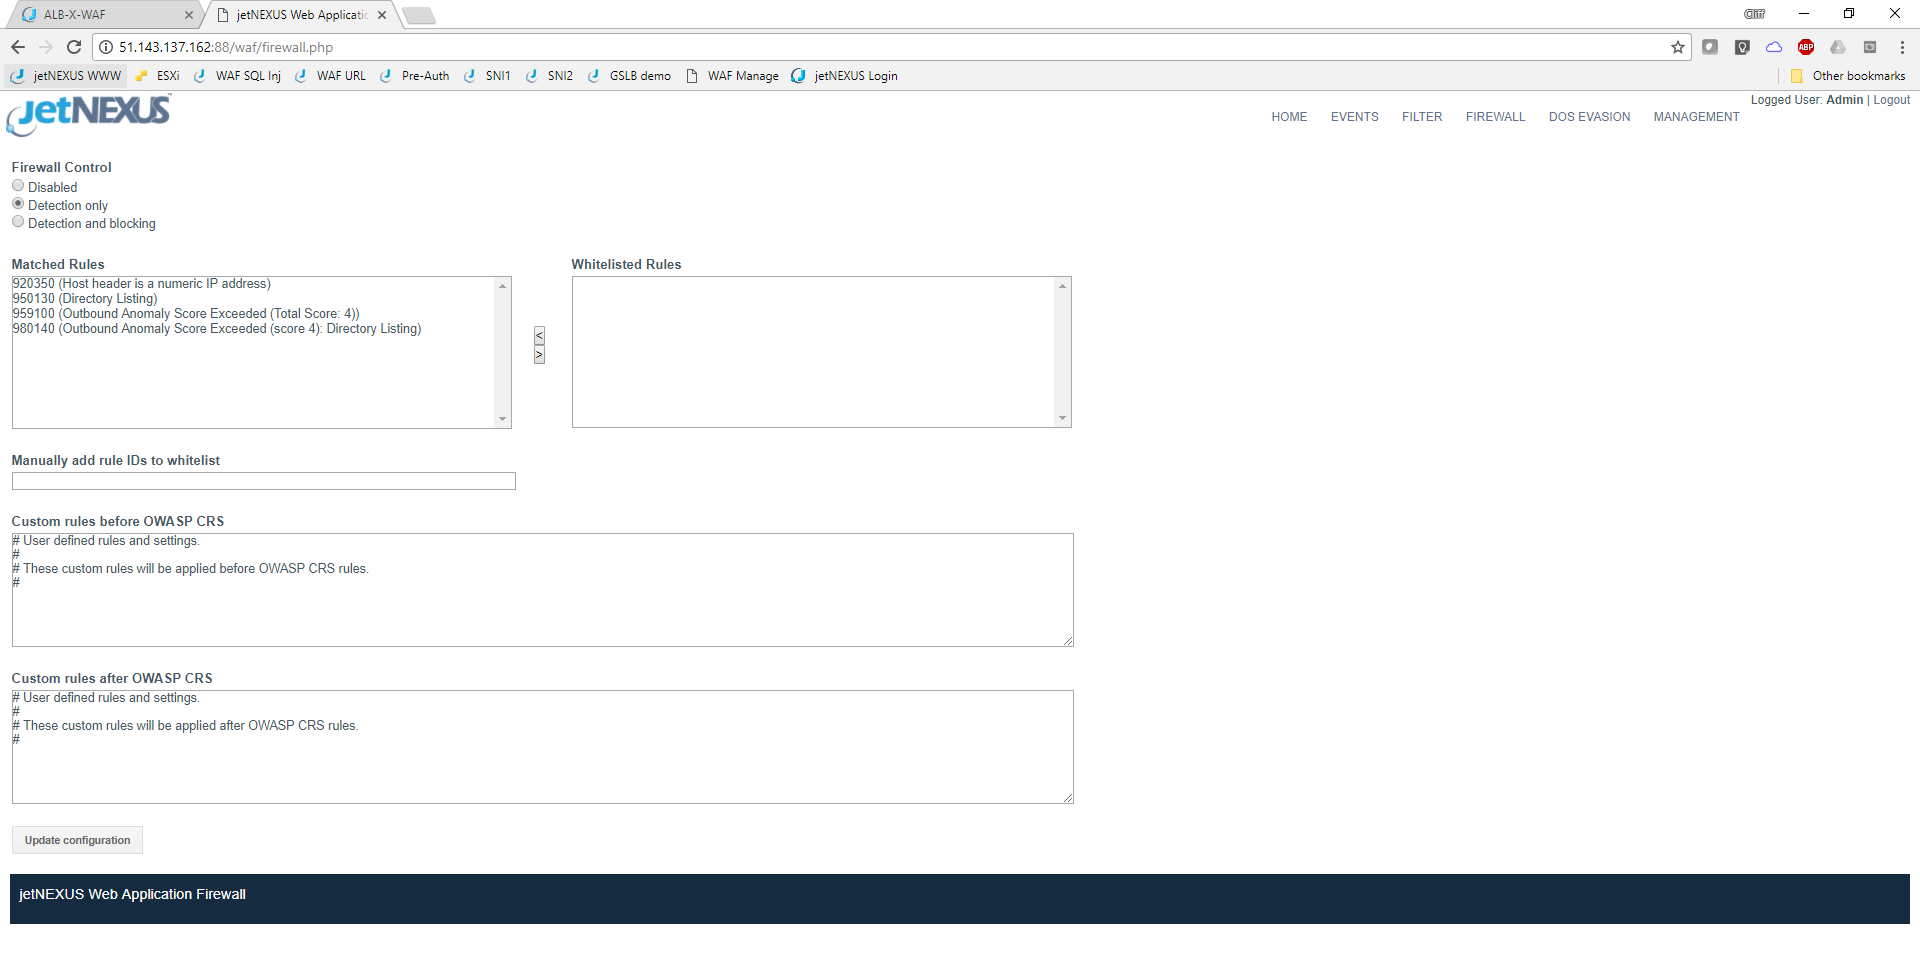
The screen shot above shows the WAF running in the default detect only mode. Please change this to detect and blocking mode in the test drive so the WAF will actively block any attacks. Currently you shouldn’t have any events but once you do they will be displayed like this.
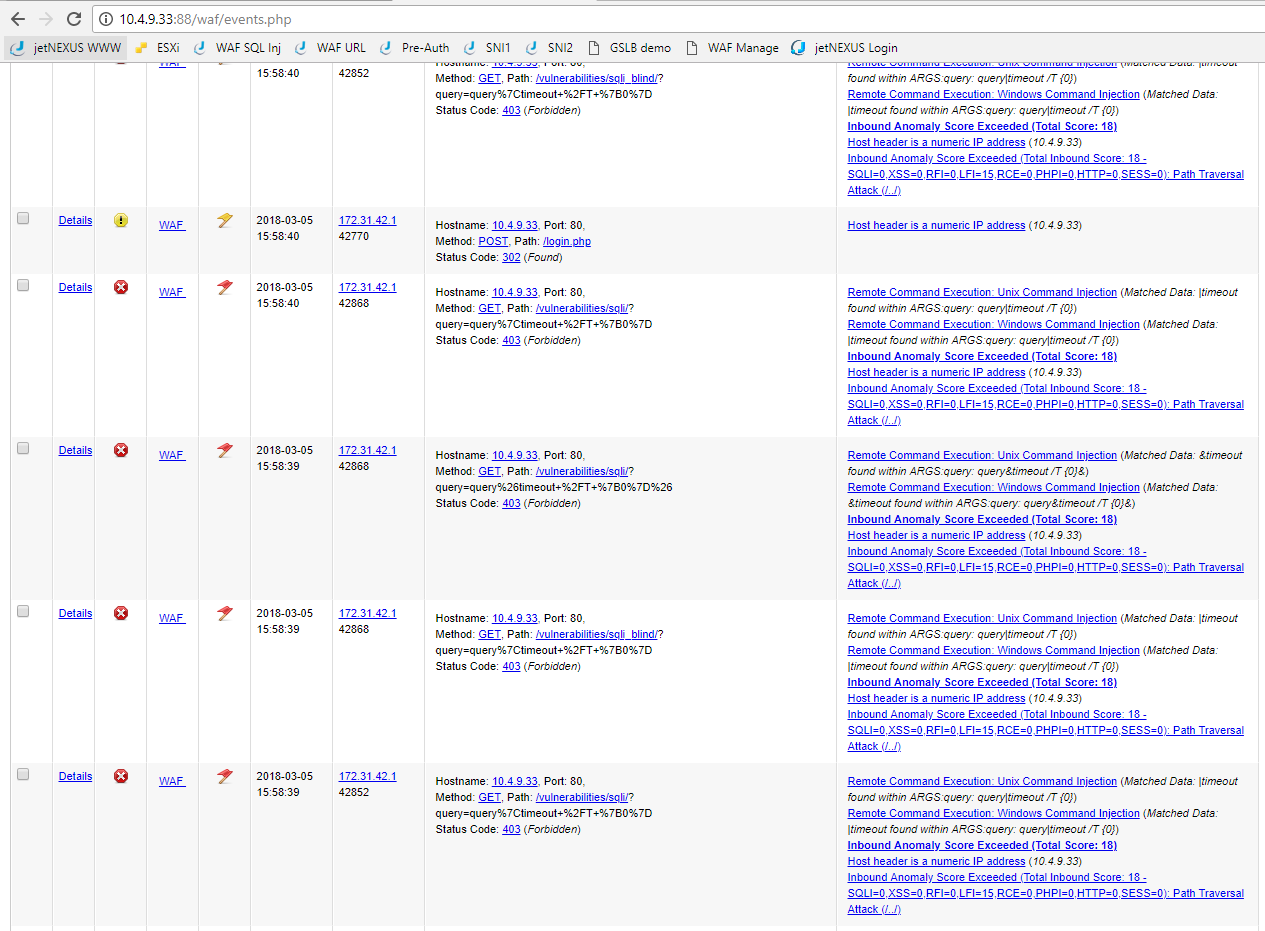
You are able to apply a filter to the events screen to be able to hone in on specifics events you are interested in observing.
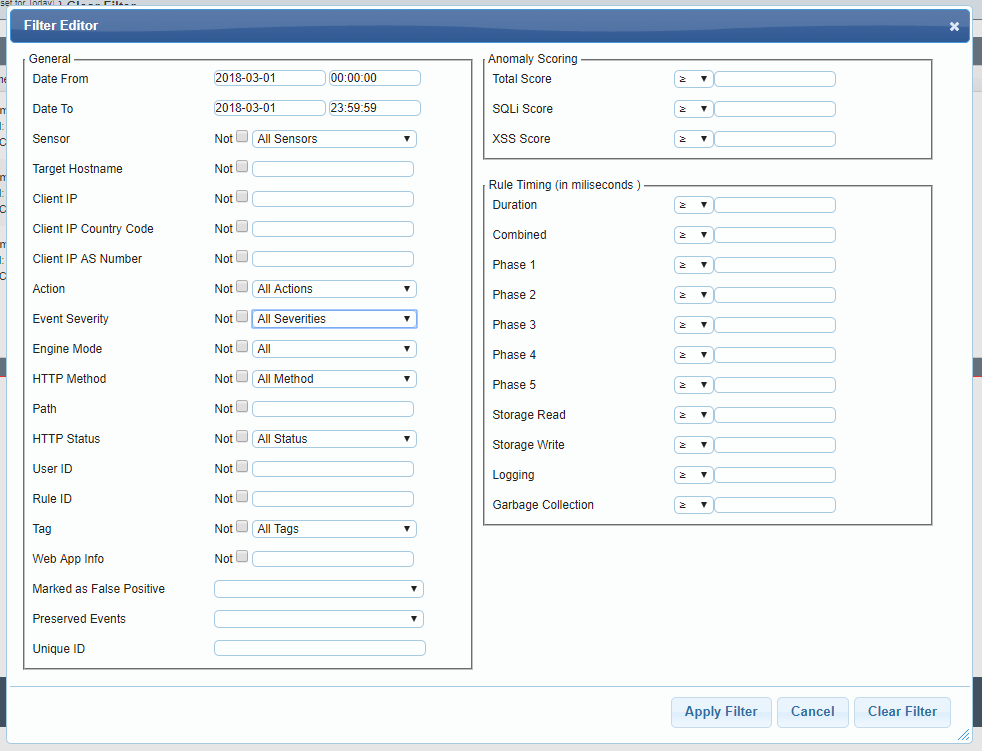
Zed Attack Proxy
Whilst we recommend using the Chrome browser for the management access to the appliances you will want to use another browser to generate the test traffic and I’d recommend Firefox for this purpose.
- ZAP is started by connecting your management (Chrome) browser to :8080/zap/. When you do this you will first see the first ZAP webswing initializing screen.
This will change to the next ZAP startup.
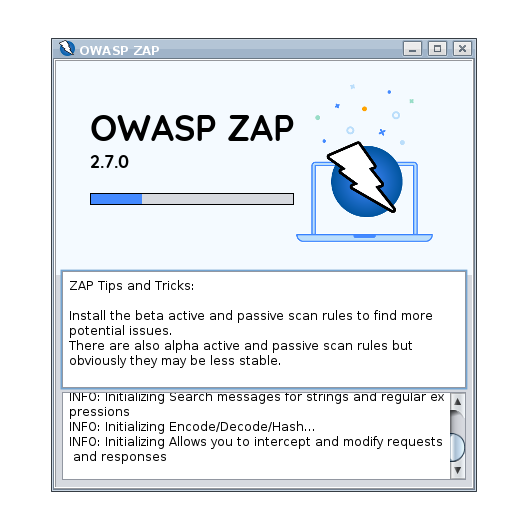
- And then you have the option to choose whether you want to persist the session, so it can be loaded again afterwards. For the test drive this probably isn’t required.
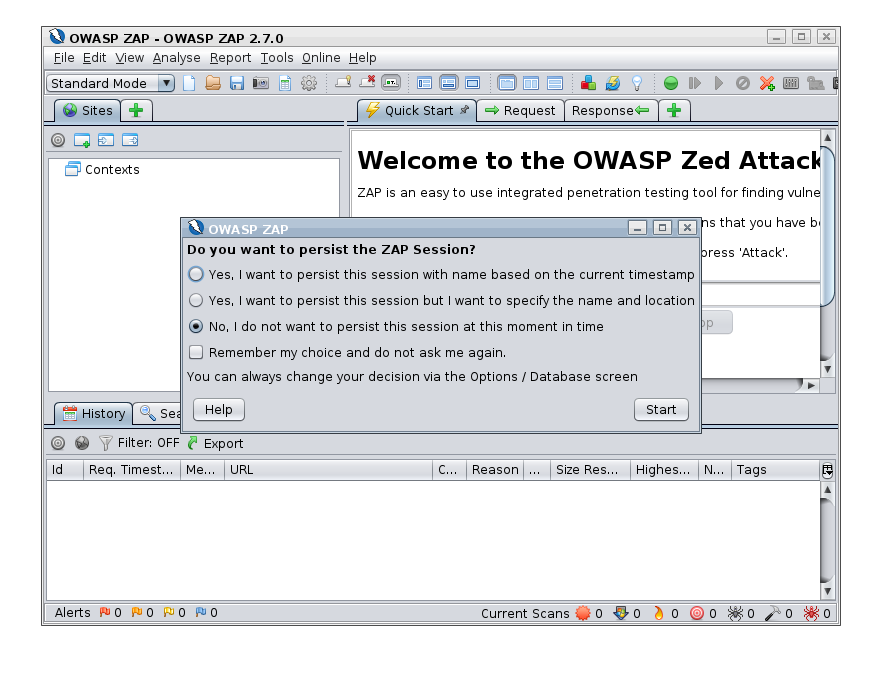
Once this is complete ZAP will be running and the LED on the 8090 IP service will change from Red to Green showing the TCP health check is passing as port :8090 is now open.
- We now need to configure the browser to use a proxy. You can now configure your Firefox web traffic browser to use the ZAP Public IP address and port :8090 as the Network Proxy.
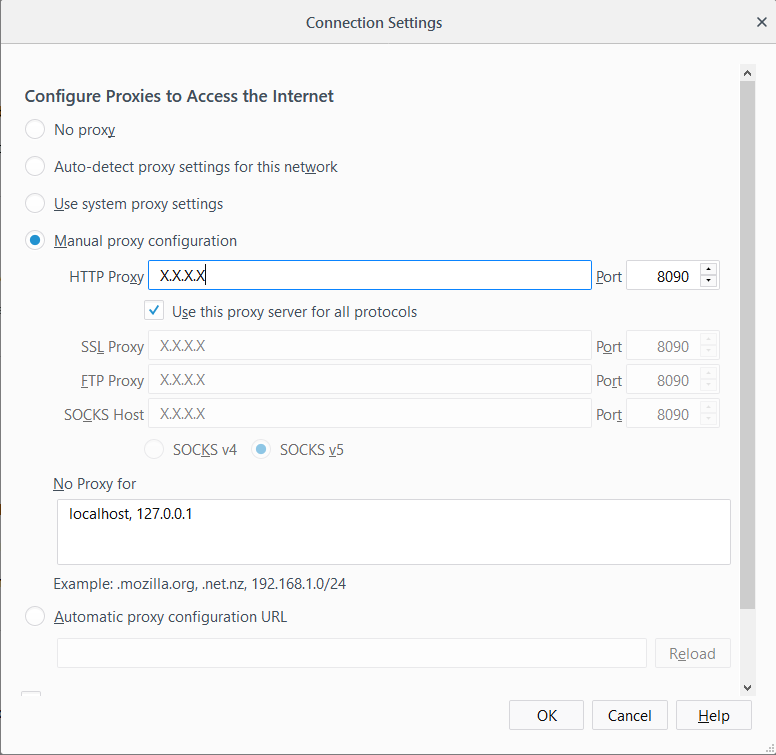
DVWA access via ZAP Proxy
You should now be able to access DVWA using the Firefox traffic browser via the ZAP Proxy and the WAF by entering the host name or Public IP address of your Test Drive using the standard web port :80 either http://X.X.X.X or something like
- http://jetnexus-wafturcokjygzudw.centralus.cloudapp.azure.com
You should see a screen like this.
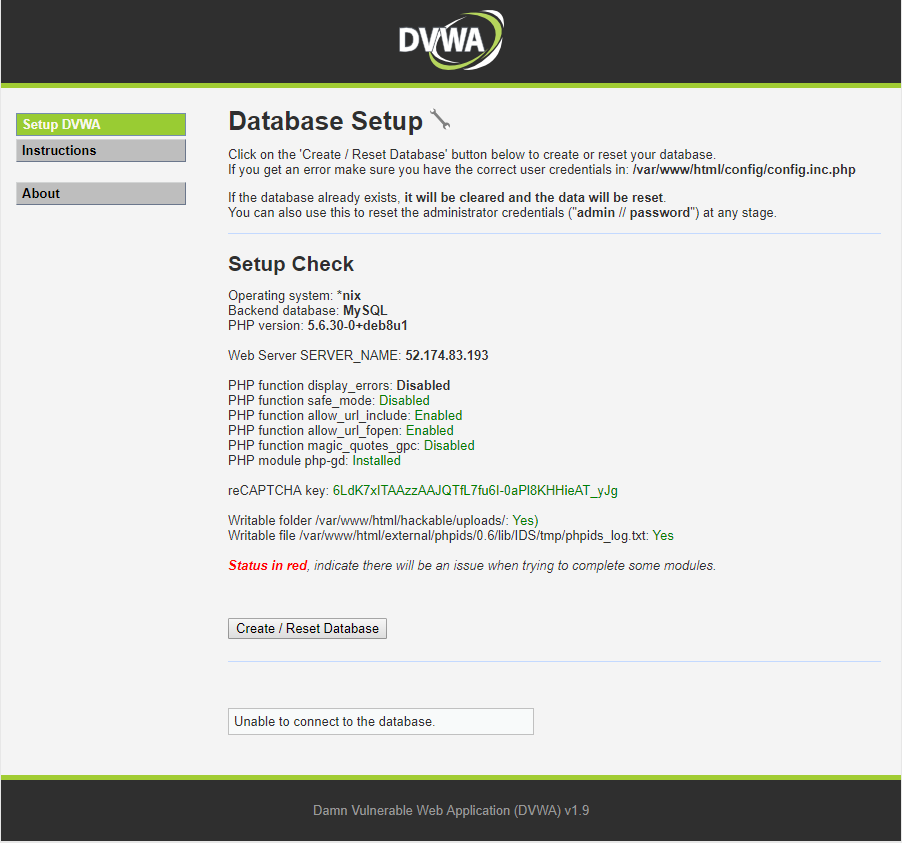
Click on Create / Reset Database.
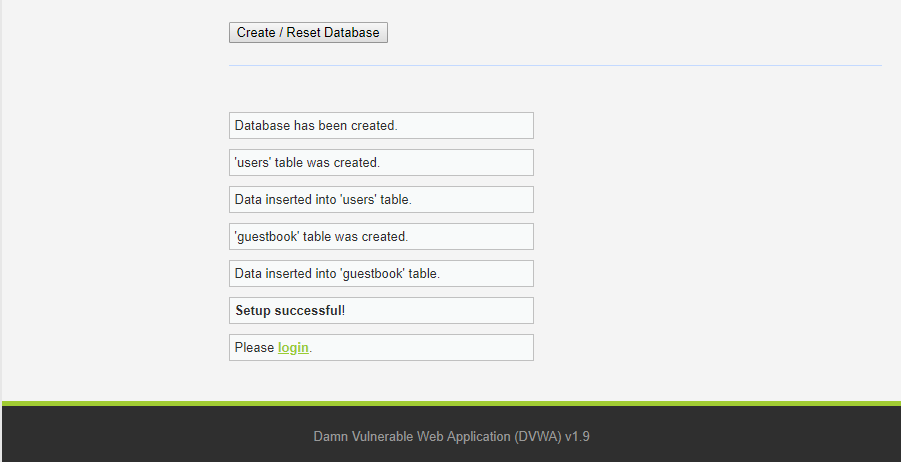
Login to DVWA with default credential admin / password.
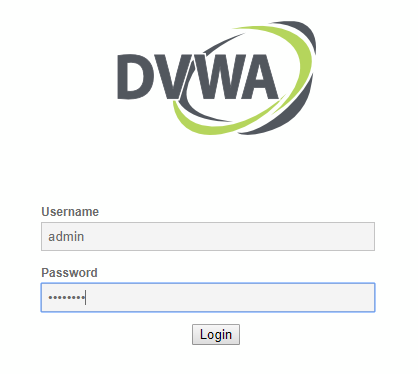
You will now be logged into DVWA as admin.
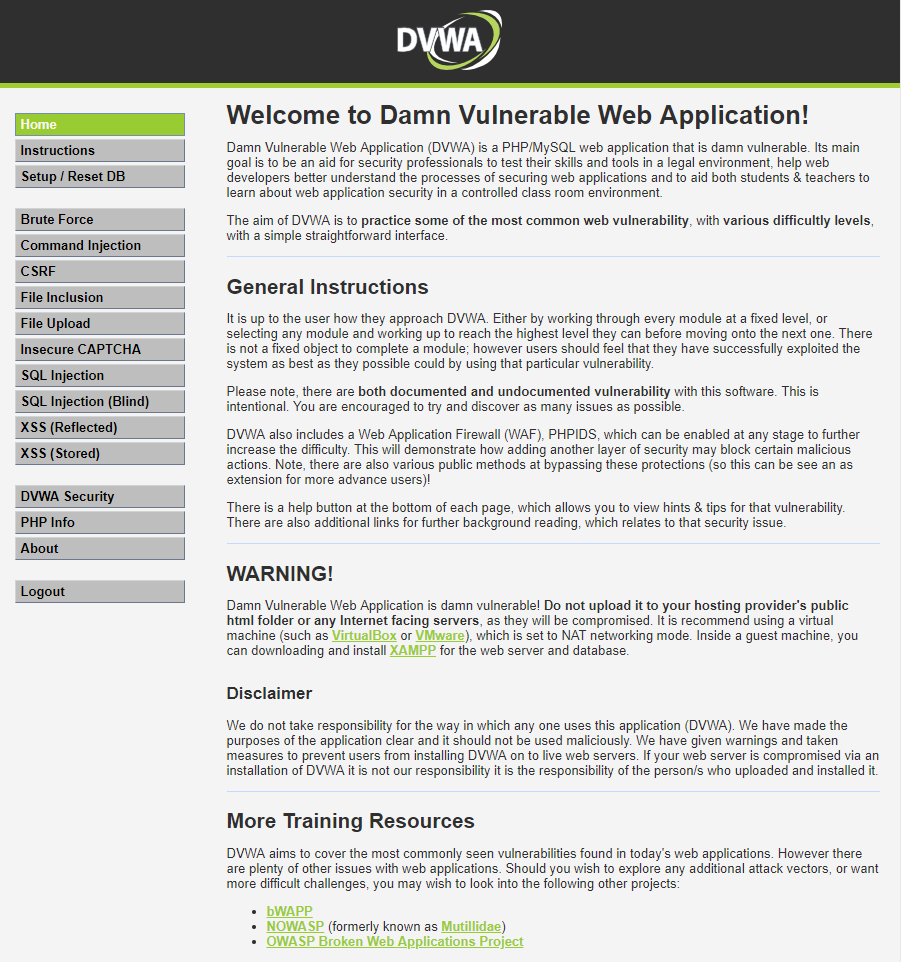
The default security level for DVWA is ‘Impossible’ so it will not exhibit any vulnerabilities. You should set the level to low by clicking on the DVWA Security menu selecting Low from the drop down and clicking submit.
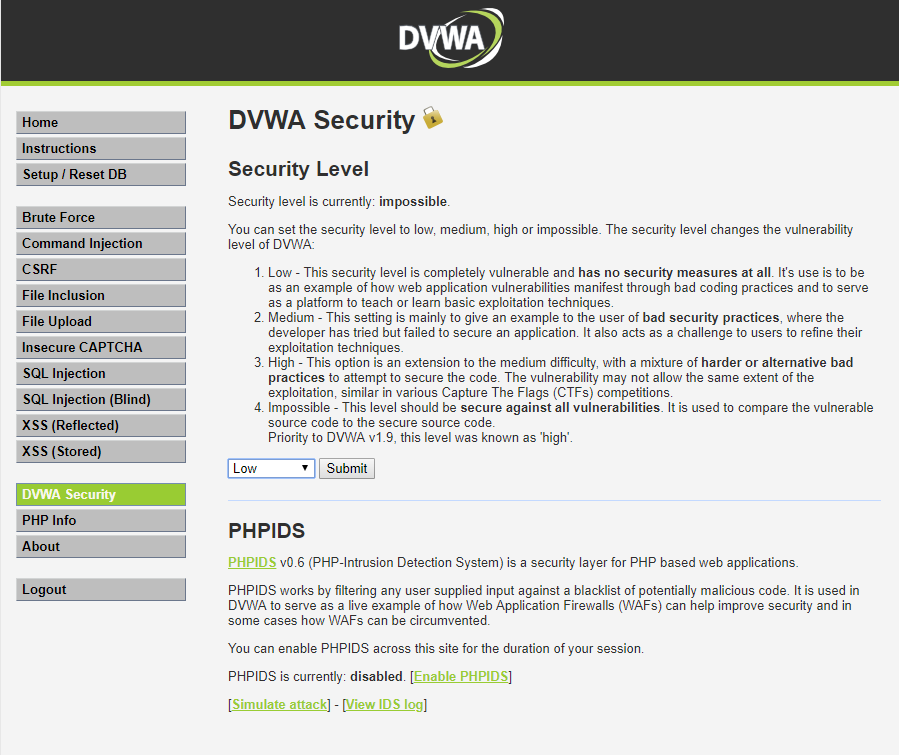
DVWA is now all primed and ready for use as a vulnerability test target.
Using ZAP
There are a few steps to follow to set up ZAP to first spider the DVWA application and then perform an attack. We would refer you to the several online resources for details on how to set this up rather than regurgitate the information here.
- This YouTube video walks the precise steps and is what I followed myself in the process of setting up this test drive. Note it runs rather fast so I recommend slowing the video by half or a quarter 🙂
Where it refers to setting your browser proxy to localhost, you have already performed the necessary configuration steps above.
Viewing the Results
When you have performed the attack you should be able to view the results in both the ZAP Proxy and WAF GUI’s. Here you can see the vulnerabilities tree that was spidered and then attacked as the admin user.
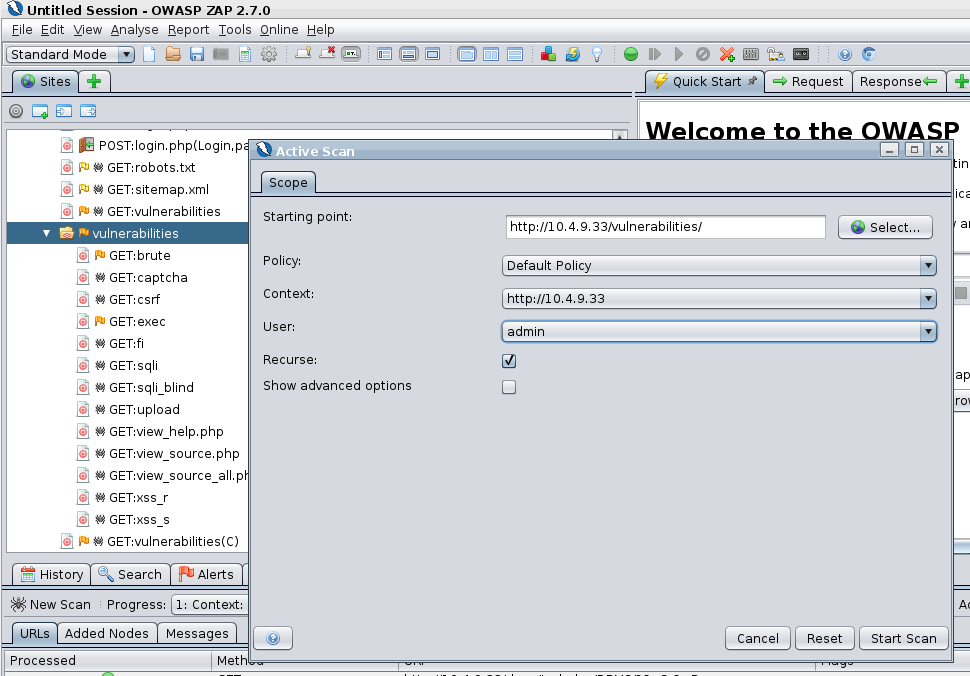
- By looking at the WAF GUI you can see the attacks that were detected and blocked.
Back in the ZAP proxy window you can see that the attacks received a 403 error response from the WAF blocking their progress through to the DVWA server.

The WAF is performing its intended role to protect the attacks on the application server.
DOS – Denial of Service
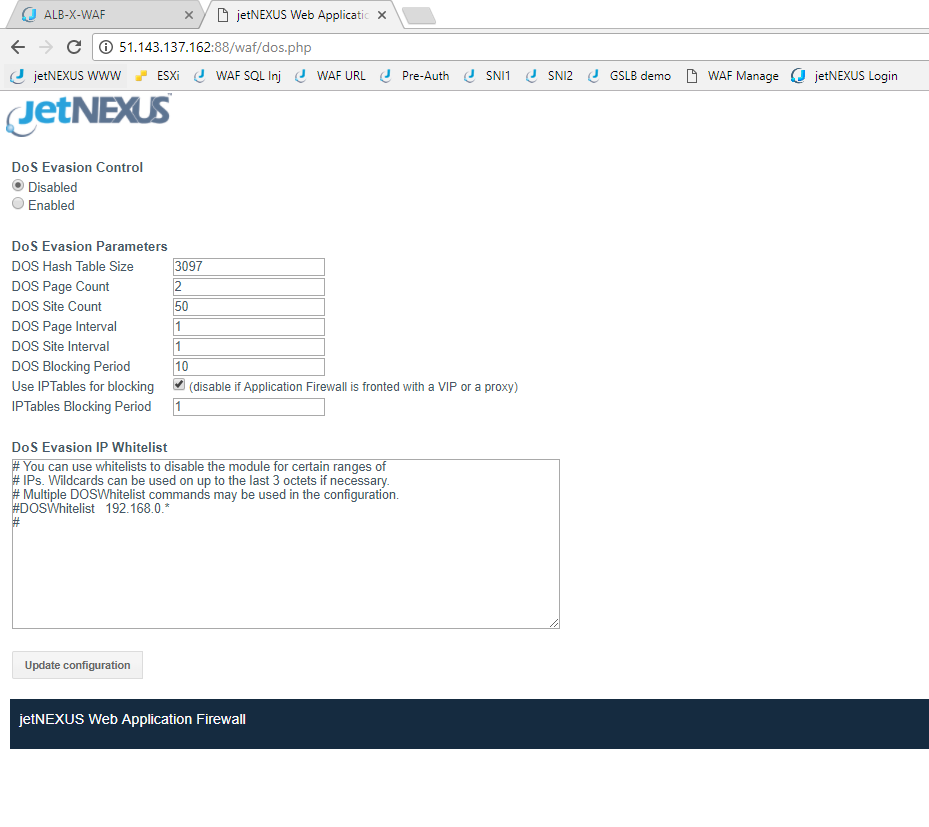
In addition to being able to block thousands of hack attacks, the WAF is also able to filter some DOS attack behavior from reaching sensitive web servers.
- There is a DOS section in the WAF configuration where you can apply and adjust the timing and volume parameters for the pattern of attack you want to protect.
Experiment
Hopefully, you will find this test drive useful to be able to discover the ease of setting up the Edgenexus ALB-X Web Application Firewall implementation.
- We would encourage you to experiment some more with the interface and you could always temporarily divert some live traffic through the WAF in detection mode to see what attacks are potentially being made to your own published applications, you might be surprised!
We welcome your feedback and would be glad to assist with setting up your own production WAF implementation.
Thank you.
- We really hope you enjoy your Edgenexus ALB-X Web Application Firewall implementation.
We would welcome any questions you may have to pre-sales@edgenexus.io
Don’t take our word for it – take a free trial
Hardware, software or even your own online image complete with a full test environment.
Just let us know what you need here
APP STORE

