
Citrix XenServer
The ADC Virtual appliance is installable on Citrix XenServer.
· Extract the ADC OVA ALB-VA file to your local machine or server.
· Open Citrix XenCenter Client.
· In your XenCenter client, select "File: Import."
· Browse to, and select the OVA file, then click "Open Next."
· Select the VM creation location when asked.
· Choose which XenServer you wish to install and click "NEXT."
· Select the storage repository (SR) for virtual disk placement when asked.
· Select an SR with enough space and click "NEXT."
· Map your virtual network interfaces. Both interfaces will say Eth0; however, note that the bottom interface is Eth1.
· Select the target network for each interface and click NEXT
· DO NOT tick the "Use Operating System Fixup."
· Click "NEXT"
· Choose the network interface to use for the temporary transfer VM.
· Choose the Management interface, usually Network 0, and leave the network settings on DHCP. Please be aware that you must assign static IP address details if you do not have a working DHCP server for the transfer. Failure to do this will result in the import saying Connecting continuously then failed. Click "NEXT"
· Review all the information and check the correct settings then. Click "FINISH."
· Your VM will begin transferring virtual disk "ADC ADC" and, once complete, will show under your XenServer.
· Within your XenCenter client, you will now be able to see the new virtual machine.
Right-click on the VA and click "START."
· Your VM will then boot, and the ADC boot screen will show.
· Once configured, the logon to the VA presents itself.
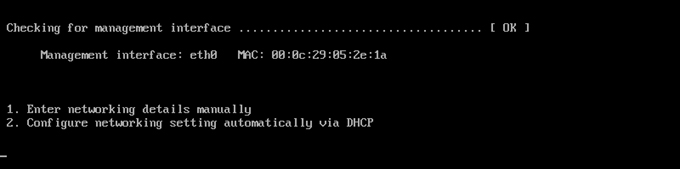
Please refer to the section First Boot Configuration to proceed further.